
The rear end is incredibly stable and solid, and we haven't even
lower the car or changed the tires yet. Straight line acceleration
has improved ten fold. Tire spin is limited to a brief squelch,
followed by the tires hooking and taking off like a rocket!
Considering that stock 5.0's on radials pull 60 foot time in the
2.30's, these control arms would be good for a full three tenths.
Slap on some drag radials or slicks, and with the PSC bars and you'll
knock off 1.70's all day long. The nice thing about the PSC bars
is that the offer complete adjustabilty. The uppers allow you to
dial-in the pinion angle, while using the ICM (Instant Center Modification)
brackets on the lowers, lets you tailor the anti-squat characteristics
of the car. The more power you are pushing through the rear wheels,
the more you're going to benefit from adjusting these parameters.
In terms of corner carving, these bars have dramatically reduced
oversteer. The rear end feels stiffer, and planted as you dive into
a corner. The urethane bushings offer enough compliance so that
when over steer is induced, backing off the throttle immediately
corrects the situation. In the past we had to counter steer and
back off the throttle to get the car pointed straight, but now its
just a matter of allowing the rear end to re-establish grip.
We've still got a bit of work to do on the front end before we can
fully appreciate the new found handling characteriscs of our LX.
Stay tuned as in the months to come we'll really put the PSC bars
to the test! F/M |
Installation
- Upper Arms |
 |
 |
| 1.
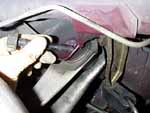
With the lower arms installed, we tackled the uppers. Again, work
on one side at a time. |
2.
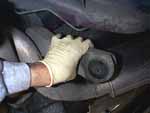
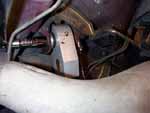
Remove the bolt at the front end of the arm first.Then remove the
bolt at the axle housing end of the arm. |
 |
 |
| 3.
The upper arm is now free to be removed. |
4.
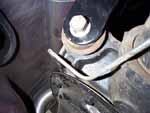
Position the front end of the new upper arm in the body bracket,
and secure using the stock hardware. Make certain the grease fitting
is pointing down, such that you can access it from under the car. |
|
 |
| 5.
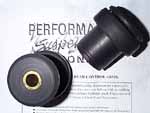
The PSC uppers come with new poly bushings for the axle end of the
arms. Getting the old bushing out can be a challange without the
proper puller. One crude way to get the old bushing out is to drill
a bunch of holes in the rubber until it falls apart. Then clean
out the shell and tap in the new bushing. A coat of silicone spray
will ease getting the new poly bushing in. |
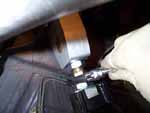
6. Line up the end of the arm with the axle bushing and fasten
the bolt and nut. |
|
|
 |
 |
|
|
7.
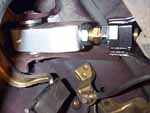
The arms come pre-set to the stock length; which is 9.5"
from center to center of the bushings. Be sure to tighten up the
adjusting nuts, and fold over the lock tabs.
|
8.
The new upper installed and ready for business! The adjustability
allows you to dial-in pinion angle for maximum traction. We'll experiment
with this in the future when we get the car to the track. |
|
<<
BACK TO LOWER ARM INSTALL
|
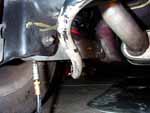
9. The final step is to grease the bushings to prevent the bushings
from squeaking an binding. Drive the car around, and re-tighten
all the bolts. |

